Merry Christmas everyone! Today I am sharing the third project I created for the Tim Holtz Idea-ology 2021 YouTube reveal.
The Divided Drawer has 2 inner shelves, which are removable, and I have removed one so that the bottom has a larger space. I've covered the inside with Christmas Backdrop papers th94181. Instead of covering the front edges of the box with paper, I have randomly applied Distress Crackle Texture Paste tda71303. Once this has dried, apply Distress Brown Crayon and rub with something damp to get it in the cracks. I usually just use my finger, that I have swiped on a damp paper towel.
For the sides of my box, I have used the Christmas Pocket Cards th94190. Love this package, there are 55 pieces all double sided, three different sizes (3 x 2, 3 x 6, & 3 x 4"), perfect for journaling, small areas, December Dailys, and cards, plus most of them already look like you have collaged them. I've distressed some, ripped the edges, or rolled up the edges with crackle paste underneath to give the box an old look.
After the crackle paste has dried, also age it with the Distress crayons.
Instead of adding legs to the bottom of my box, and wanting it to be a bit more secure while standing, I made my own base slightly larger than the box. I've taken a Baseboard Lace Frame th93786, aged it with Distress crayons, and then glued a small chipboard rectangle (approx. 4 x 2.5") which has been covered with this striped paper from the Christmas Worn Wallpaper pkg. th94182. I've added this extra layer to cover the hole in the frame. There are also a few Snippets Ephemera labels th94188 with a Christmas Remnant Rub, and a Label Sticker Sentiment th94205 on the top and sides of the Drawer.
I then adhered this base to the bottom of the divided drawer.
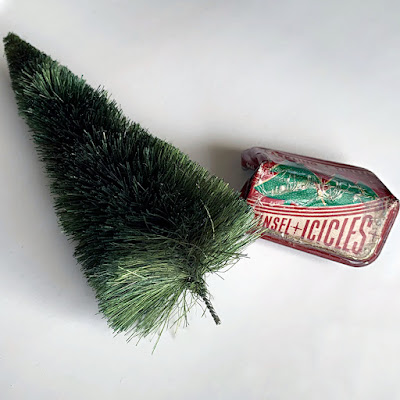
Spray your Woodland tree th94212 with your chosen colours. I've taken the base off and clipped a bit off at the bottom. Before doing anything inside the box, I've drilled my hole for the Christmas Tiny Lights th94106 that go on my tree. I've drilled a couple of inches above the bottom corner and an inch in from the side, where the tree is going. The tree is the only thing that I have lit up in this vignette. You could always light up the top with another strand if you wanted.
For my tree base, I used one of the Christmas tin tops th94204. I made two cuts on the sides across from each other with wire cutters, just enough to bend my tin. Caution, though, this is metal and the cut edges can be very sharp. I used pliers to bend the tin. It looks pretty beat up as I sanded and used the Christmas Ranger's Ink Icicle Crackle (Holiday Texture set tsck78227), but that's what I wanted! It doesn't have to be perfect, you really just see the front part.
With your lights pulled through the back hole, wrap them around your tree. For the Distress Mica Flakes TDR69140, you can either apply them to your tree before wrapping the lights or after. If you want to do it after the lights are on your tree, leave about 4 inches of lights closer to battery end, so there's enough room to apply your mica (I just use Glossy Accents with my finger all around, then pour on the flakes, tap lightly to remove excess on a paper) outside the box. Once the glue has dried, just tuck in the extra lights near the start of your strand. I had a dense foam piece that I stuck my tree end into, narrow enough that the tin could be glued to it, and then the bottom and side of your box. I've added a Christmas Quote Seal th94202, using a Picket Fence Distress Crayon to highlight the words. I've glued this in with a thick small foam piece, so it's standing up.
For the back of the bottom drawer I used this "December 24" piece from the Christmas Layers pkg. TH94185. These layer pieces are a thicker coated cardstock, they sand and distress quite nicely. I've a piece of the Mini Icicles th94206 to the top. I'm sure you have noticed, I have applied Distress Mica TDR69140 or Distress Clear Rock Candy TDR35879 to pretty much everything! I've added it to the icicles here. There are already two holes punched in the top, so I added some rings and hung the sign with two nails from the Vignette Hardware pkg. TH93668. I think this set is being discontinued, which is sad as I use this a lot, there's the antique nails, eye screws, long screws, and hooks in it.
Once you have all those pieces attached, next is your Santa (Christmas Layers TH94185). This one also is made from the thicker coated cardstock. Before adhering him to the box, I've added a jump ring with two Tiny Bells TH94201 and a Snowflake Adornment TH94200(these snowflakes are so beautiful!) on the ring. I had a little Tim Holtz Clip Bail TH93292 (discontinued but it's just a small metal clasp that turns a charm into a pendant) but you could use a small ring, which I attached the jump ring and then poked the clasp into the Santa's hand so it looks like he's holding this. The snowflake and bells were also coated with Rock Candy Glitter. Because my Santa isn't flat against anything, I adhered behind his feet to the bottom and just at the back edge of his sack to the side with a hot glue gun. You can't see glue behind the sack, but to cover up the glue at his feet, just apply either Translucent Grit Paste TDA71730, Snowfall Grit Paste from the Holiday set TSCK78227, or even a thicker amount of Glossy Accents, and apply Distress Mica or Rock Candy Glitter while any of these are wet. That's the beauty of grit paste, it can cover up lots of things, and look like it's part of your project. I've also added it around the tin base, and most of the floor of my display box. I've added a book clipping (the eve before Christmas) to the bottom front edge of the box from the Christmas Sticker book TD94183.
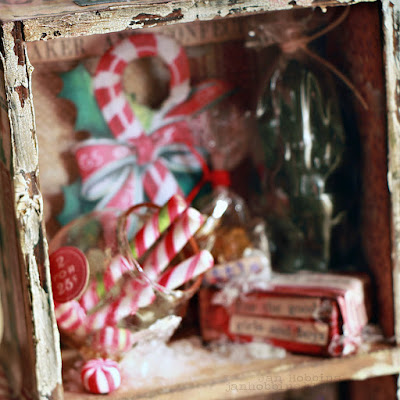
Now for the small section at the top of the drawer. There's some Christmas Ephemera TH94187 in the back(candy cane), the little sign (Joseph Merkel Baker) is from the Christmas Pocket Cards, just cut out from one of the papers, th94190 pkg. The candy jar is the Snowglobe th94015, without the base and upside down. Inside there's Glossy Accents with Rock Candy glitter and Mica applied while wet, then the Red & White Confections with a little added glitter inside. There's a small price sticker from the Ephemera pack on the outside. I applied a larger amount of Translucent Grit Paste on the bottom of the shelf and stuck the Globe into it. Add lots of Mica Flakes and another candy piece. The little Candy Box is made just like previous ones made here for Halloween. A peppermint Ephemera piece was added on top and book clippings (from the sticker book) added to the side. There's a little bag of peanut brittle on top of the box at the back. Glossy accents applied on a piece of plastic, coloured with alcohol ink, then cut into tiny pieces. Clear plastic wrapped around and tied at top, then the word brittle( cut out from paper piece).`
My chocolate Santa is the from the Christmas Salvaged Package TH93995. The Santa figure was painted with thin coats of Ground Espresso Distress Paint. I've dried the layers in-between, and did about three layers, to give it a matte chocolate look. With plastic from packaging, I made it look like it was a bag, string closing the top.
Here's another look at my Christmas Divided Drawer. I realized that when I looked at these photos, I left the front shelf blank on the front edge, and I was going to put another book clipping there! Which I did when I got my drawer back. I guess I was in such a hurry to get my projects done, I forgot!
Here's a photo of the tree with the tiny lights on.
Well, that's my last Tim Holtz 2021 project to share. Hope I've inspired you to create something with all the Tim Holtz goodies you have acquired. Even if you are running out of time, at least you will have inspiration and a stash for next year. I always find that I am in the mood to create Christmas things, even after Christmas is over. We have terrible winter weather in January to March here, so it's a good time to stay home and craft.
We had a winter storm here last night and this morning, so I didn't want to leave the house, which turned out great, so I could get this post done! I still need to get a few Christmas cards finished, so if I'm not last minute, I will share.


1 comment
Merry Christmas!!! I just love the candle holder and twig tree you have in your display...LOL...Such a wonderfully fun project with Santa and CANDY...LOL. Thank you for much for your detailed tutorials...Yes, I make whatever, whenever the mood strikes...as long as I have what I need, it does not matter to me what time of year it is...LOL...#makersgonnamake....
Post a Comment