Hi everyone! I'm sharing a Halloween Tunnel Card using
Tim Holtz products today.
After watching
Jennifer McGuire's tutorial on Tunnel Cards, I really wanted to try one. Jennifer has a great video on how to create the inside of this card.
Love this skeleton and frankenstein from the Ghoulish set! I've got two layers inside my oval tunnel. Keep in mind that your card has to close, so I've just used flat die-cut accents on the different levels.
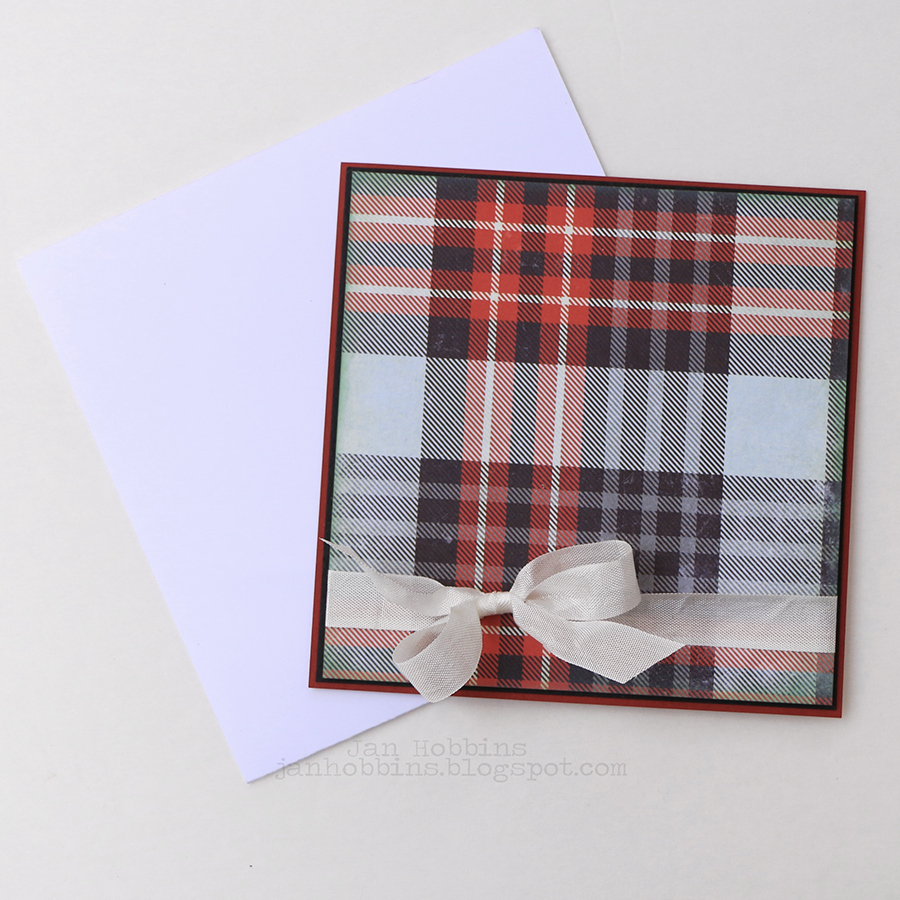
The patterned paper on the front of my card is actually Tim Holtz Halloween Collage Paper (TH93727) adhered to black cardstock with Vintage Distress Collage Medium. The brown tinted collage medium gives the paper a yellowish tinge.
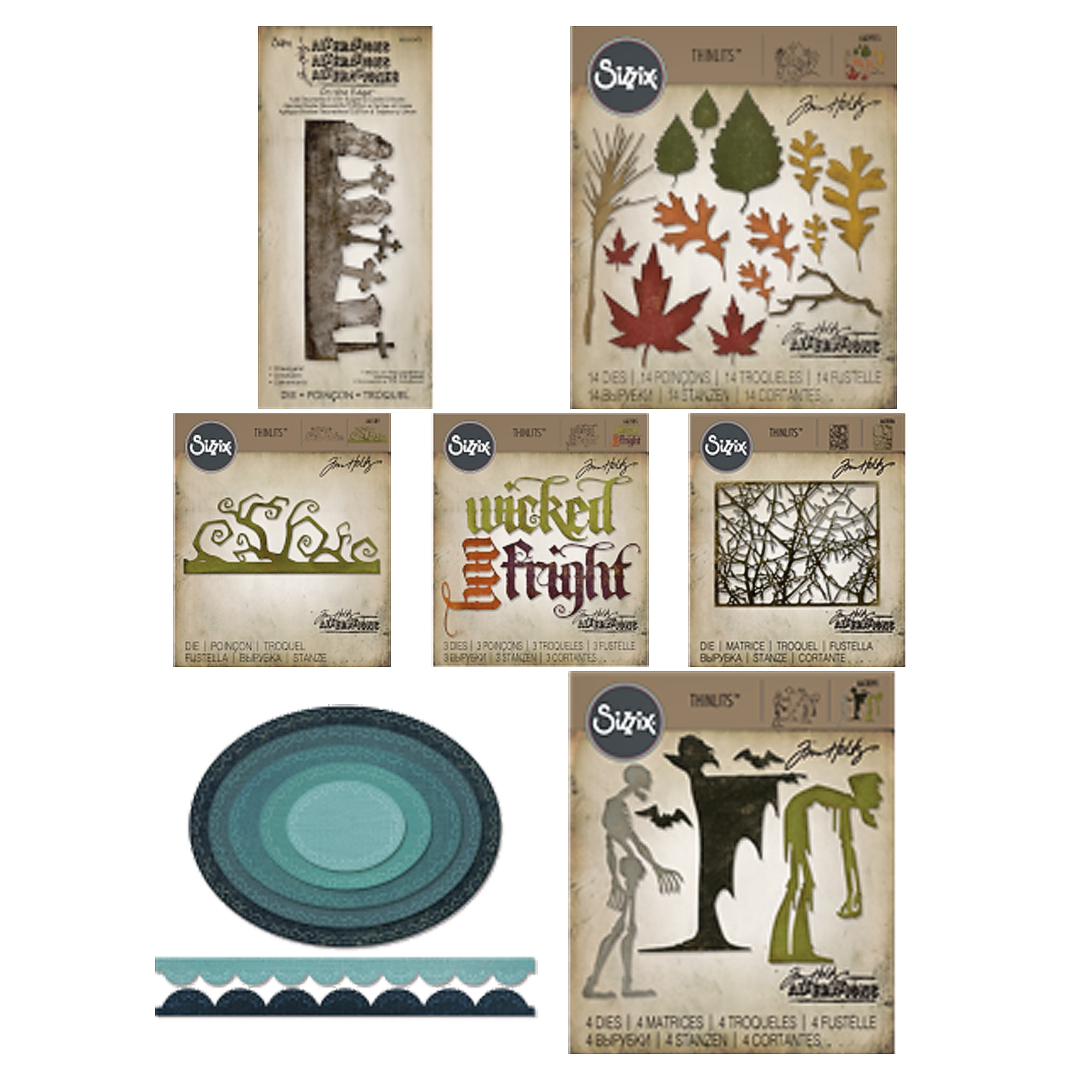
I used the ovals left from my negative layers die-cut on the inside using Tim Holtz Sizzix Stitched Oval Thinlits. The "Fright" was cut out twice and adhered slightly off-centre. My Skeleton is die-cut with Ghoulish Set (663091) from Distress Mixed Media cardstock that was coloured with Distress Oxides. The leaves are from Fall Foliage Set 660955), also coloured with Distress Oxides on Mixed Media Cardstock. The branches are from Tangled Twigs 663086 and Twisted Edge (661589) Thinlits which are cut apart. I cut a Tim Holtz Pumpkin (TH93312) in half, and added in Mummy Cloth.

Have you ever looked at a die and thought I wish I had a stamp like that? To create one, just die-cut your shape out of adhesive backed thin foam sheets. I usually get mine from Michaels. I save flat pieces of the hard plastic that stuff is packaged in, a piece cut out slightly larger than your shape works great to adhere the foam die-cut to. This isn't a high quality stamp, and you're only going to get a silhouette stamped image but it gets the job done! I originally wanted to do an alcohol lift with these stamps on a sheet of Translucent Yupo paper (Ranger Ink) and use the Yupo sheet for my background, but I couldn't find where I put my paper. I did find my Mica(non-porous) sheets which I thought would turn out even better, but the shapes didn't show up on the Mica as well as I would have liked. Instead, I used the lifted Alcohol inked image on my stamps and stamped on a porous piece of watercolour paper. I then coloured the paper with Distress Oxides. You can colour your paper before or after as your stamped images are permanent, because they are done with alcohol ink.

Thanks so much for stopping by! I can't believe how fast this month is going and I really need to finish a few more Halloween projects! Hope you visit again!
Jan