Hello everyone! Today I'm sharing my first project I created for the Tim Holtz Idea-ology 2021 release. If you missed his YouTube live, he has the replay and the links to all the makers
here. Every time there's a new release, I think this is the best one yet, it can't get any better, and then .... well, it does! I especially love all the Backdrops papers, so many designs to choose from.
These Display Domes are one of my favourite Tim Holtz structures to use. I was happy to discover that the new Tin Tops(TH94128) fit inside! Love the graphics on these! There's something about this cute little girl paper doll that has my heart and she was smaller so she fit well inside the dome.
On the backside of my tin top, I've created a small vignette using one of the new Idea-ology Quote Flair buttons(TH94116), a leaf from the Engraving Layers(TH94125) a Worn Wallpaper Die-cut (TH94122) and moss (from a craft store). The engraving layer was tinted with Distress Ink and a water brush, then I've used a few layers of
Antique Linen Embossing glaze to give it an aged look.
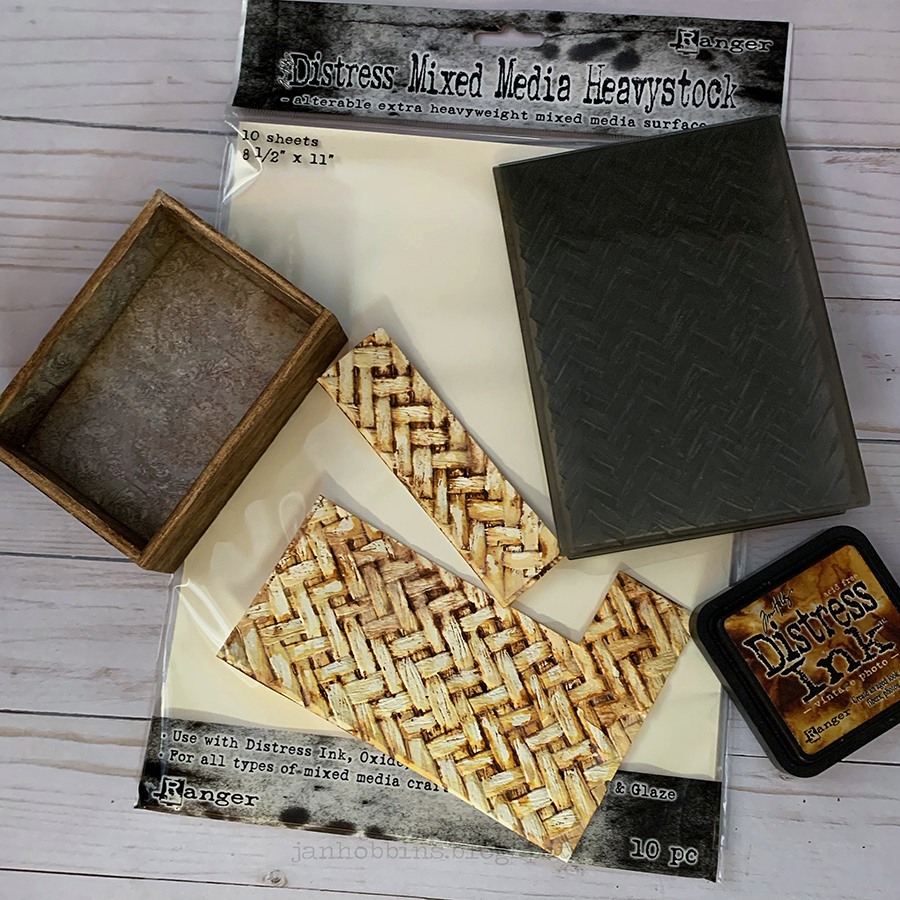
I wanted my tin top (TH94128) to be finished off on the underside, as it is visible under the dome. I cut out a piece from Backdrops Volume 1 (TH94117) paper pack and adhered it to the tin. The edges of the paper were inked with Distress Ink. Ranger's Crackle Texture paste was applied around the edges. Once the crackle was dry, I applied Walnut Stain Distress Crayon, then rubbed it in with a dampened finger over the cracks and finished it off with a wash of Distress ink in a brown tone.
The front of my tin top was given a rusty look in two corners.
Translucent Grit Paste(TDA71730) was applied first and set aside to dry. Distress paints were applied, with the Ground Espresso first, all over the grit paste. Next, a light touch with my finger of Ripe Persimmon, Mustard Seed, and finally Shabby Shutters. If you find you have put too much of the lighter colours, just apply another darker or brown paint and cover it.
Before adhering my different parts to the dome base, I wrapped Agenda Linen Tape (TH94140) around the cork bottom. Love that this tape is super sticky! Dried moss was then adhered with a hot glue gun to the top.
I cut apart my Worn Wallpaper die-cut, to make the pieces even smaller. The edges were distressed and inked.
The front of my Dome vignette, I've used a paper doll, from the Solos Package (TH93555). The new paper dolls are in two different packages, one is made up of solo dolls and the other is made up of Groups (TH94137). My little girl's dress is coloured with Squeezed Lemonade Distress crayon. There's also a Toadstool(TH94082) that I've used Speckled Egg Embossing Glaze on, giving it a bit of colour. My pieces of the Worn Wallpaper die-cuts are adhered in front and behind the tin top.
These Mini Flairs (TH94129) are one of my favourite items from this release. I love the imagery on them, I think I need another package! I've used a small round gold/white frame sticker from the Metallic Sticker Book (TH94134) on the top of the dome, then a mini flair adhered on top. I've also tied a small bit of Tim Holtz Cotton Thread around the button.

To finish off my Dome Vignette, I used double sided adhesive to secure the bottom of the glass to the base and then adhered Velvet Trim from the Cool Tones (TH94113) package. I have a huge weakness of ribbons and trims, so I was pretty excited to have these trims in so many colours. There are three different variety packs, 7 colours in each. This Cool one, is a mixture of blues and greens, there's also a Neutral (browns and natural colours) and a Warm (reds, pinks, orange, yellow) package. I've had a question about how to tie a nice flat bow. There actually are a lot of YouTube videos out there, let's face we all have trouble sometimes! Just google search 'tying a flat bow' and you will be surprised how many. My favourite is using a fork, wrapping the ribbon around the tines (good for small bows) or my fingers. Cut a piece of ribbon first to adhere snug around your dome and then glue the bow on after.
Thanks so much for stopping by, I will be sharing my other Idea-ology projects soon!
Until next time,
Jan