Hello friends, it’s been awhile! To start off the year, I'm sharing the first of my Tim Holtz Sizzix Chapter 1 projects. This Lucky Etcetera Tag features the new Lucky Love Impresslits Embossing Folder and the Multi-Level Swirls Embossing Folder.

I love Impresslits, and every time I use them, I wonder to myself....why am I not using these more?! They emboss and cut out the image at the same time, and you've got that nice curved finished edge.

I have used a Mini Etcetera Thickboard Tag (Stamper's Anonymous THETC 004) for my tag base. This measures approximately 8" x 4.5". I cut out my Tim Holtz Mixed Media Heavystock(TDA75172) paper the same dimensions as my tag. The Multi Level Swirls folder is a new kind of embossing folder, with more than one level of embossing, but not as dimensional as the 3D folders. Your folder is slightly narrower on the sides than the paper and you will have a space at the end. I used this flat part for the top of my tag. Now, the big question is; to emboss first and then colour or colour and then emboss. When you emboss first, if you use sprays after, the liquid follows all the highs and lows of your embossed paper, giving it an interesting look, but you can lose a bit of the embossing, depending how wet your surface becomes. If you colour first, you don't get the unique colouring that sets into the grooves. I couldn't decide, so I did both. I lightly sprayed my one or two colours first, dried it until it was slightly damp, then embossed, then sprayed my oxide sprays. I think I used Old Paper and Antique Linen Oxide Sprays.
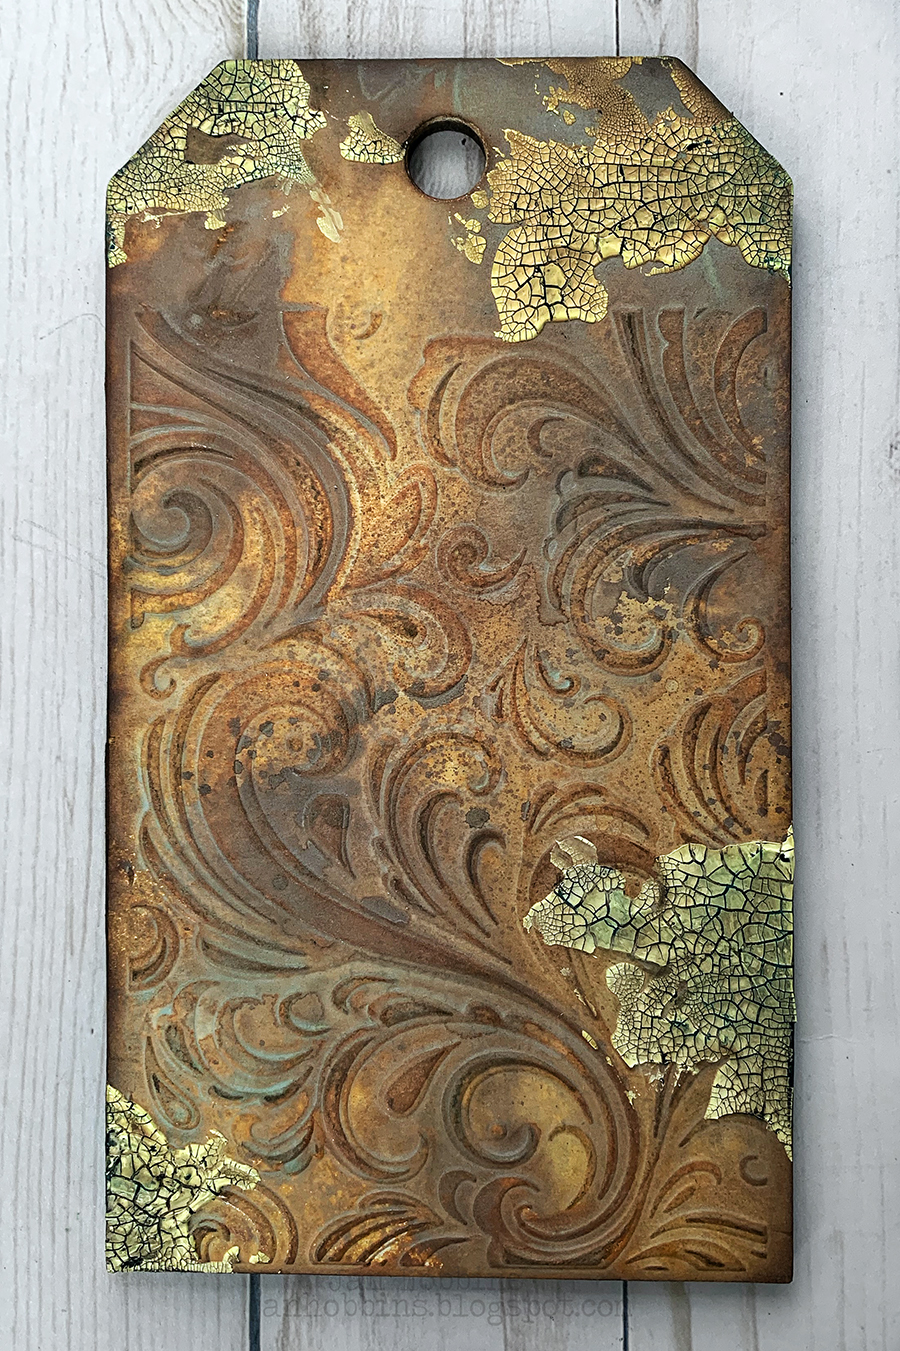
After I glued my embossed sheet to my tag with Ranger’s Collage Medium, I applied Crackle Texture paste at the top of the tag (then you don't really notice that it's not embossed) and a couple of areas on either side of the tag lower down, to balance it out.

The white texture paste lifted some of the spray colour, which I thought worked in my favour. Add in some brown Distress Crayon in the cracks to accent them.

Colour a piece of Mixed Media Heavystock paper with a combination of green Distress Sprays and Oxide Sprays for your clovers. The distress ink sprays will give you a darker and more vibrant green. Lucky Clover, Rustic Wilderness, and Evergreen Bough are good greens to use.

The Lucky Love Impresslits comes with a heart die also, but I cut my paper to size for cutting out just the clover.

After die-cutting, I added a light touch of Distress crayons, in
Antiqued Bronze(giving a little bit of shine) and Walnut Stain to highlight the embossed areas. The edges were also inked.

For my hand holding the clovers, I used this Tim Holtz stamp set from Stamper's Anonymous, Eclectic Adverts CMS372. The hand was stamped with black Archival ink on Distress Oxide coloured Heavystock.

The stamped image was cut out and a small piece of raffia was tied around the wrist part. To add extra depth to my die-cuts I like to use sculpting tools. This Sizzix set is really old but they still have this similar one on their site. This flat pad is used for the veining tool (the curved pointy one) which is used for the veins of leaves, but I used it in between the fingers. The ball stylus was used on the backside to give a slight curve to the whole hand.

I also used two Etcetera Bracket Trims THETC-010. I had applied white gesso first, as I wasn't sure if I was going to paint them, but I ended up covering them in this Tim Holtz Abandoned mini stash paper.

I also applied Ranger's Crackle texture paste to the edges, let dry, then applied Distress Crayon in the cracks. A Tim Holtz Memo Pin was stuck in the bottom bracket trim(to hold the hand) and the other bracket trim was glued on top, but staggered with about 1/4" overlap at the top. You can see how it looks in the main photo.

This created a very narrow 'pocket' which I stuffed a small piece of dyed Mummy Cloth (TH93982) after I adhered the bracket to the tag. I also adhered a small plain journal card (TH93957) in the middle, just above the brackets, helping the hand and clover to stand out from the background. The lucky clovers are placed and pop-dotted(foam adhesive dots) so they look like the hand is holding them.

To finish off my tag, I used a 'Lucky Is A State Of Mind' Quote Chip (TH94045 or TH93563) that had been distressed and inked on the edges. A dyed ribbon (Crinkle Ribbon or Seambinding), Story Stick (TH93680) and a Thought Token (TH94024) were added at the top of the tag.
Thanks so much for visiting me here, I will be sharing my other projects soon!
Until next time,
Jan


No comments
Post a Comment