Hello everyone and Happy New Year! Hope all of you had a wonderful Christmas and enjoyed the holiday season! It’s time for for a new making season, and Tim Holtz has just released his new Sizzix Everyday 2023 line. If you missed Tim’ s YouTube live last Saturday, you can go to his Blog for all the info and links. You don’t want to miss all the amazing projects created by the makers!


Love this embossing folder! I couldn't resist covering the whole outside of the box. Here's how I created my project.
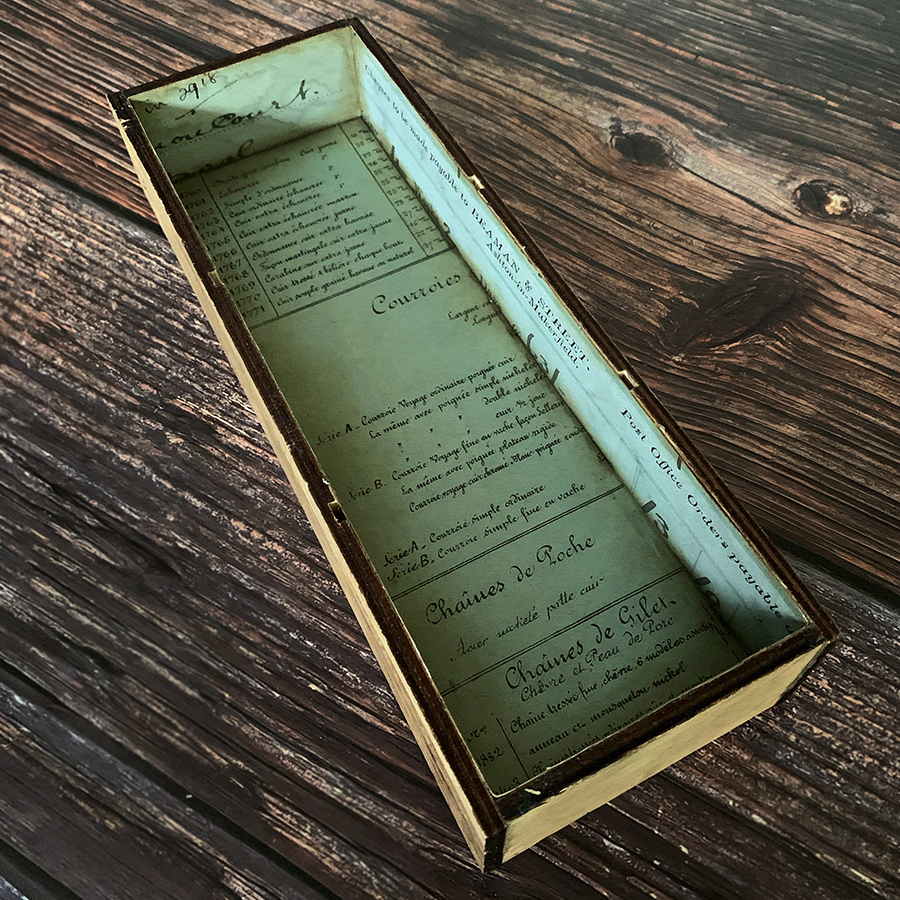
Let’s get started! I took out the two shelves and covered the inside of the box with Backdrops paper.
I’ve used Etcetera Pinked trim around the front of my drawer. I painted a white base coat on first. After that dried, I added a light coat of dark brown paint layer. Once that layer dried, I applied Distress Transparent Crackle paste and after that was dry, Distress crayon was applied in the cracks. As you're waiting for each layer to dry, you can work on the rest of the box.

For the embossed outside, I’ve used Kraft Heavystock. Cut out your pieces (I think I used 4) the size of the folder.

Run the folder through your die-cut machine. Repeat for all the pieces.
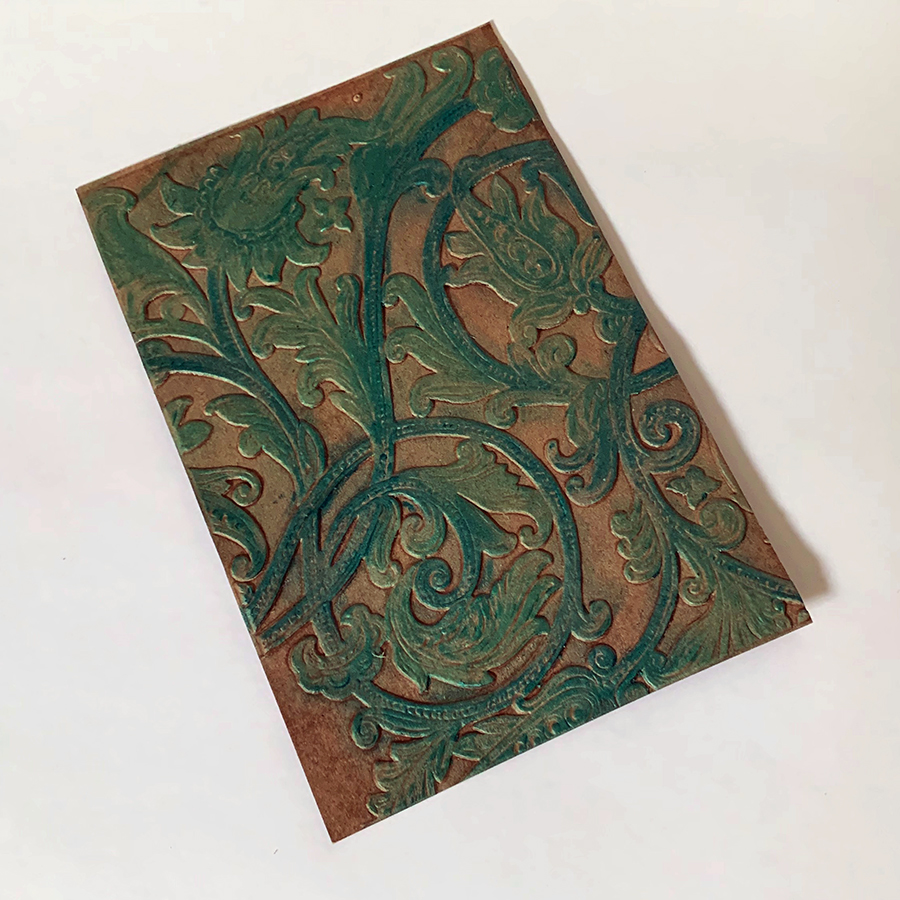
With your chosen Distress Crayons, mine are from the Christmas #4 Pearlescent set(Shiny Bauble and Merry mint), apply them on the raised areas. I apply the crayon directly to the paper, and with a damp finger(touch a baby wipe or wet towel) rub the crayon in. I really like the shimmer the pearlescent have.
Don't worry about being exact or covering them completely.
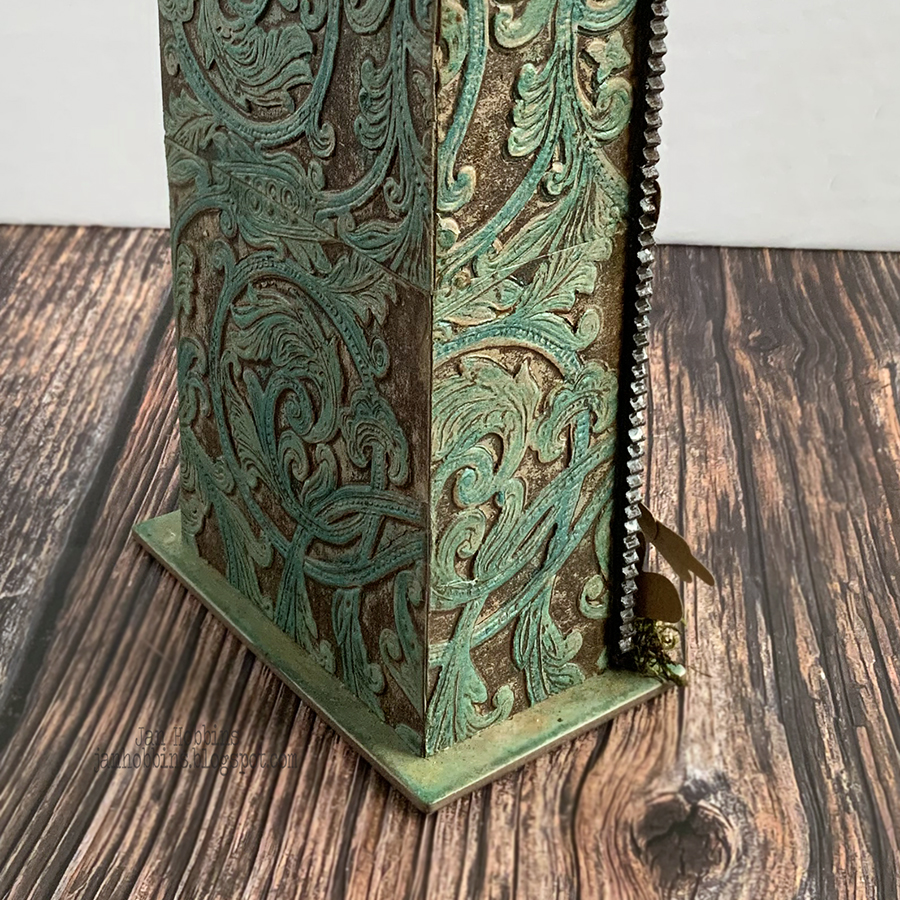
Sorry I didn’t have a photo of how I created the next step. To get the dark brown colour, I applied Distress Archival Ground Espresso ink directly to my embossing folder on the one side where the debossed background is. Carefully place the embossed & crayoned paper back on the opposite side facing the inked one. You can feel where the paper fits back into the right grooves. Close the folder carefully and run through your machine again. That’s it! Some areas might not ink solid, but I liked that. Cover the back and sides of the drawer with your embossed paper.

Before adhering the Etcetera trim pieces, the top shelf(I only used the one shelf) needs to be in place. Cover this with Backdrops paper. I attached a metal gate to the front of the shelf. I clipped off a small section at one end, as my Etcetera trim overlapped and I needed the gate slightly narrower. I used Collage Medium but also reinforced with two brads(split the brad and each end on either side of the fence. I poked a hole first so the end went into the wood easy). Add Distress Crackle paste to the shelf, paint after it had dried. Also add paint and grit paste to the metal gate to make it look old and rusty. I’ve used brown, orange and yellow paint.

Here’s how the painted gate and shelf look when done.

Now you can attach the trim pieces around the front edge of the drawer with Collage Medium.
There’s about 1/8 inch overlap on the inside edge.


The back layer was die-cut with black Kraftstock. Before removing the die cut from the paper, I sanded around the edges.

This is the overlap on the outside edge.
I added a base to the bottom of my drawer for added stability. I used a baseboard covered with paper.

I die-cut the bunnies with white Sizzix Sculpting foam. This foam can be shaped when die-cutting flowers, but I used it because I like the soft and fuzzy texture for the bunnies. The edges were lightly inked with brown ink.


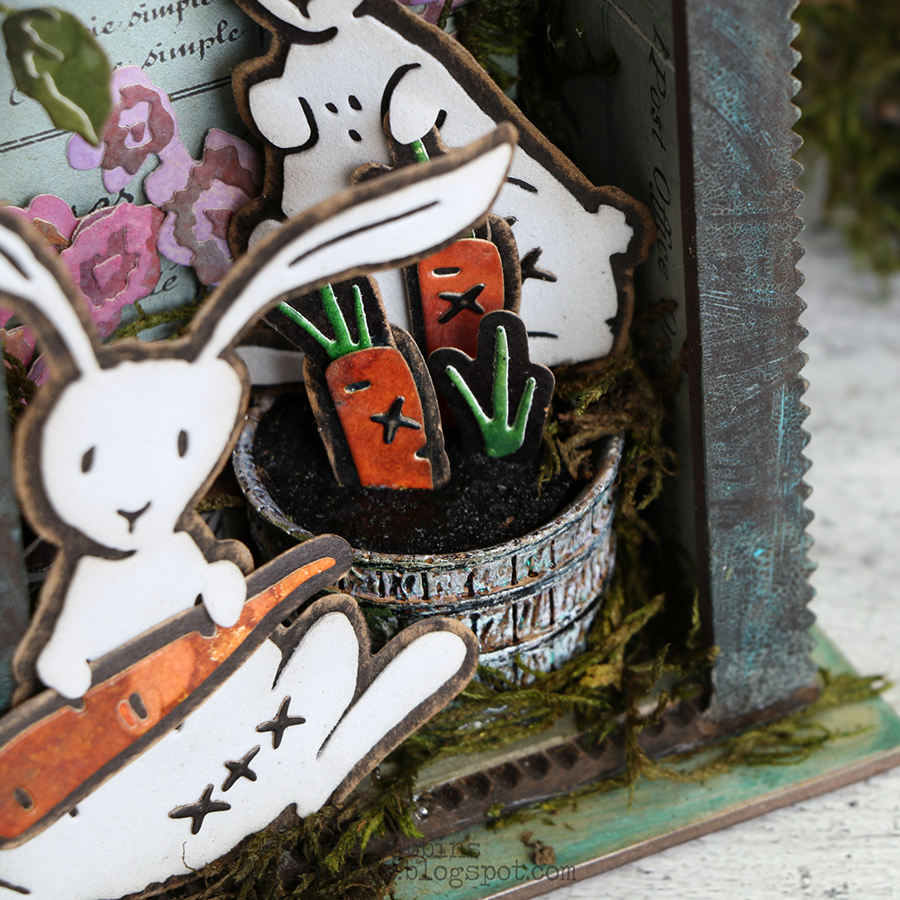
This is adhered with Collage Medium in the bottom corner of the drawer. One of the bunnies is adhered on the back of the barrel.


Here's another close up of the twig with leaves. I have one of those dwarf Lilac trees, and I thought this branch was perfect with the dried buds still left on it!

After you have the flowers and branch in, add in some moss, then another bunny with a carrot in his paws. He's placed on the outside of the box.

In my top shelf, I've die-cut eggs with coloured paper, added the 'x's also. Mini Brushstroke Flowers, another Bunny (he's holding a heart) are added. Moss was also added. A few 'x's were added to the back of the drawer also.

Here's a close-up of the mini flowers.

A Book Clipping quote "Spring is in the Air" was added to the top with two Hardware Heads on either side. That completes my vignette! Hopefully I've remembered everything!
Thanks so much for visiting here, hope you have been inspired to create your own Spring Vignette!
Until next time,
Jan
Material List
666293 Bunny Stitch Thinlits set 666284 Brushstroke Mini Flowers
Sizzix Festive Sculpting Foam 664674
Divided Drawer TH93793
Backdrops Paper Pack TH94347
Metal Gate TH93961
Barrel TH94238
Black Kraftstock TH94145
Hardware Heads TH93788
Book Clipping
Stampers Anonymous Etcetera Pinked Trims THETC-009
Distress Kraft Heavystock TDA76384
Pearlescent Crayons Christmas Set #4 TSCK81180 (Shiny Bauble & Merry Mint)
Distress Archival Ground Espresso ink
Distress Inks, Sprays to colour Watercolour Cardstock TDA53927


4 comments
It’s darling!!
Wonderful tutorial!
Fabulous make all those textures and the wonderful embossed paper cover on the back and sides just so impressive. Love that you still blog all the details I so appriciate all the work you put in. Remembering to photograph while you are making is hard I am impressed you only forgot one stage! xox
So many little details, even mitering the corners of the etc trims. Yes, I saw that and so much more...love these little bunnies and don't have any Easter projects in the house, so this may be a first. Have a soft spot for bunnies. Our neighbor has a white bunny that spends more time outside than in. He likes to come over to visit to get carrots, lettuce and apple slices. The apples are the best (bunny dessert). We call him bunn and when he is out, we can say hey bunn and he is over in a flash (think Buggs Bunny cartoons=flash)...LOL.
Post a Comment