.jpg)
These Step-up card framelit sets have everything you need to make your card. This one is the Happy Birthday (660142)framelit set.

I first cut out my card base using my Sizzix Big Shot and Magnetic Platform. Love this platform for thin dies. They do not move! All you need is the platform, two standard cutting pads, your paper, and die for your "sandwich".
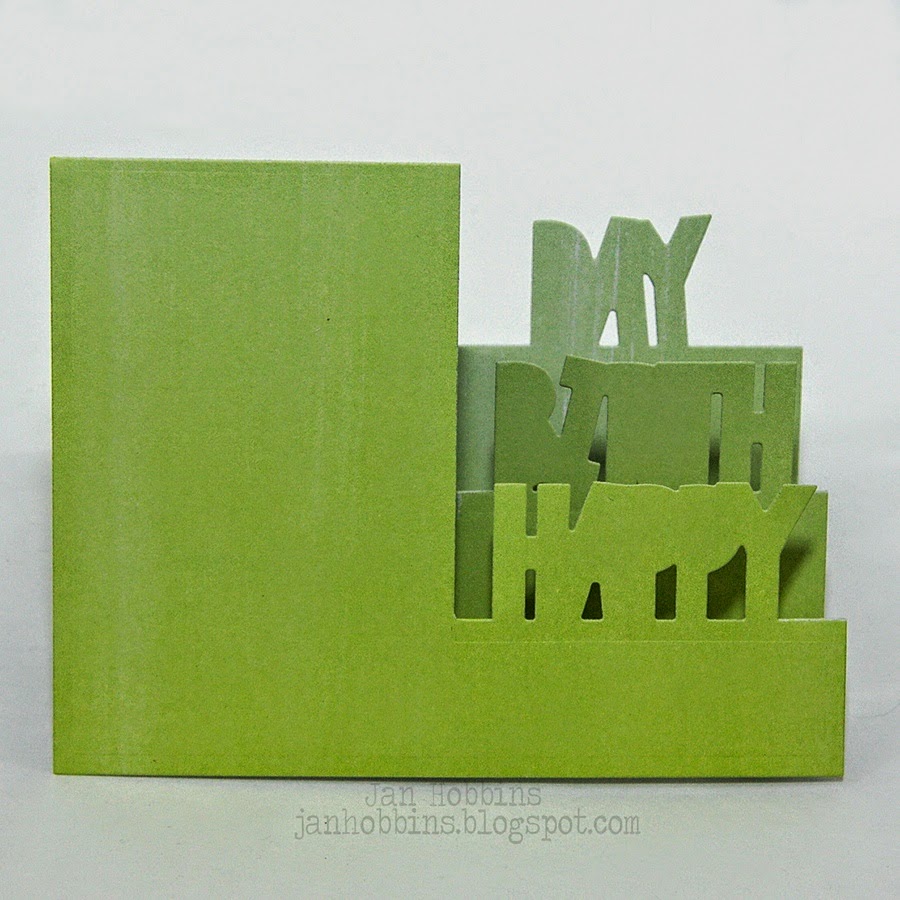
After your card base is cut out, fold along the crease lines, so it looks like this.
.jpg)
Next I die-cut my Happy, Birth, Day, in black cardstock and one patterned paper , one black cardstock scalloped frame. Adhere the letters to the card base. With thin or small letters I usually use a liquid glue pen. I took a Black Soot Distress marker and ran it along the edge of the scalloped patterned paper rectangle. I then pop-dotted it to the scalloped black rectangle and adhered this to my card front.
.jpg)
I die-cut various accent pieces that are included in the set(cupcake, presents, candles, and small rectangle) and adhered these to my card. I also added in a Pink Paislee flower, small chipboard heart, and ribbon to complete my card. The paper collection I used is called, "Love Notes" by We R Memory Keepers.
These cards are so easy and quick to make!
Thanks for stopping by, have a great weekend!
Jan


2 comments
Oh so cute! I really like that paper collection and don't ever remember seeing it in the store, so I must check it out. The colours are fantastic, it's like 'KA-POW' ! Love all the brightness. I can't wait to see all the new Sizzix coming. I've collected three of their cards and love all the extra dies in each set. What a good value they are. Gorgeous card creation Jan xK
Nicely done, Jan. You have such creative talents.
Post a Comment