Showing posts with label We R Memory Keepers. Show all posts

HAPPY BIRTHDAY CARD TUTORIAL

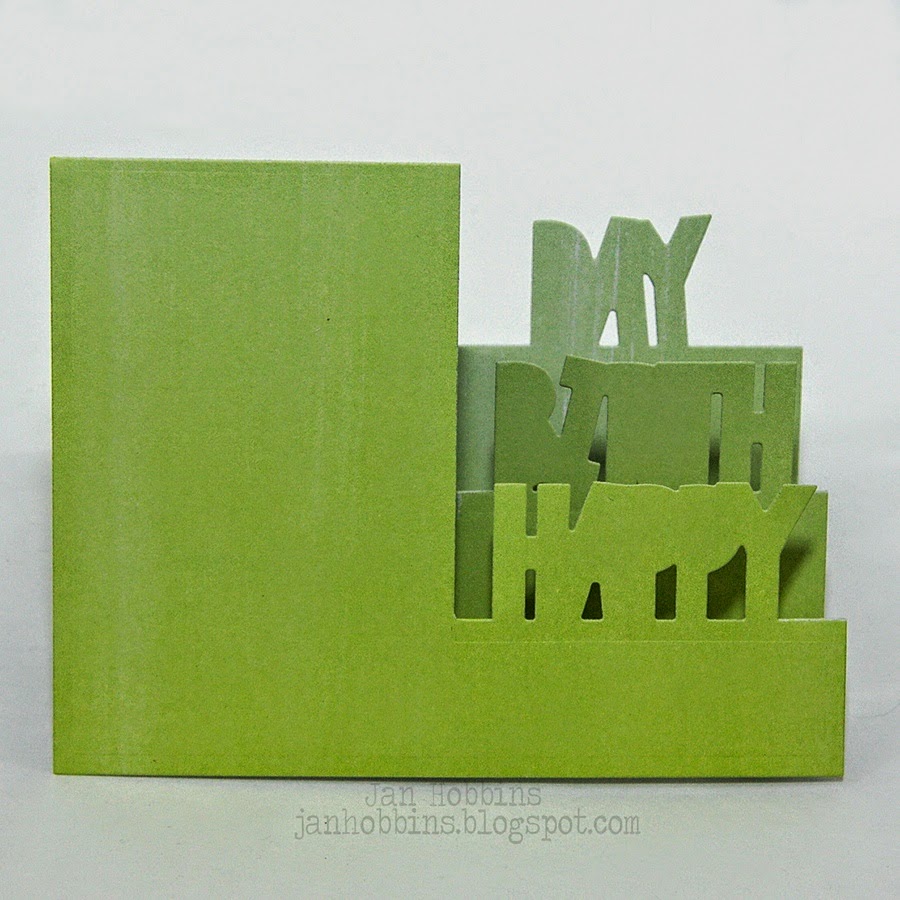
Hi Everyone,  I'm sharing a short card tutorial here today featuring one of Sizzix's new Stephanie Barnard Step-up card sets that were released this year at CHA:


These Step-up card framelit sets have everything you need to make your card.  This one is the Happy Birthday (660142)framelit set. 


I first cut out my card base using my Sizzix Big Shot and Magnetic Platform.  Love this platform for thin dies.  They do not move!  All you need is the platform, two standard cutting pads, your paper, and die for your "sandwich".


After your card base is cut out, fold along the crease lines, so it looks like this.


Next I die-cut my Happy, Birth, Day, in black cardstock and one patterned paper , one black cardstock scalloped frame.  Adhere the letters to the card base. With thin or small letters I usually use a liquid glue pen.  I took a Black Soot Distress marker and ran it along the edge of the scalloped patterned paper rectangle. I then pop-dotted it to the scalloped black rectangle and adhered this to my card front.


I die-cut various accent pieces that are included in the set(cupcake, presents, candles, and small rectangle) and adhered these to my card.  I also added in a Pink Paislee flower, small chipboard heart, and ribbon to complete my card.  The paper collection I used is called, "Love Notes" by We R Memory Keepers.  

These cards are so easy and quick to make!  

Thanks for stopping by, have a great weekend!

Jan

2

Urban Scrapbook September Layout

I can't believe it's already September!  As much as I love fall, I'm not ready for it.  We've had a beautiful hot summer, I would just like a month more.  I think because our last winter dragged on forever, just the thought of it arriving before we know it, makes me cringe!  With September, comes the fall leaves and that's the feature of my Urban Scrapbook September Layout Challenge:


Our layouts included Papers, and journaling cards from We R Memory Keeper's line, Indian Summer.  Also in each kit is one of Sizzix's Tim Holtz ShadowPress Debossing folders.  I had the "hello" one in mine.  For my leaves, I used Sizzix's new Tim Holz Layered Leaf w/texture fade.  I am loving these bigz dies that come with it's own texture fade (embossing folder) and this one is going to be a big favourite!  They haven't arrived at the store yet, but should be in the next week or two (I hope).  I cut one out of plastic and used it as a stencil on my background paper first.  I used sprays and also my Tim Holtz Distress Marker Spritzer.  I'm starting to use this spritzer more and more, I love the control I have where I want the fine spray.  My other leaves were cut out of the patterned paper then inked.  There was burlap ribbon in the kit, which I sprayed and pressed into my paper, and also leather trim, metal feather, Tim Holtz banner die-cuts, and American Crafts letters.  
Check out what the rest of the design team have done with their kits here!  If you would like to join in on the challenge, the kits are for sale at Urban.

Thanks for stopping by,

Jan
5

A Tag Full of Gears

 I haven't had a chance to use these new Sizzix Gear dies by Prima, so what better way to try out new dies than making a tag.


For my tag, I used papers from We R Memory Keeper's collection, Indian Summer.  Love this leather looking paper!


The four gear Prima die set is a Sizzix Bigz Die called Love Gears which can cut out heavier materials such as chipboard, plastic and felt.  The other Prima gear collection is a thinlit die set called Rondeaux which cuts out paper, cardstock and thin acrylic. I also used this Sizzix Zippy Zipper Die on my tag.

The zipper was cut out in copper adhesive sheets from Vintaj and also brown paper.  The metal die-cut was used for the zipper teeth and head.  After I had assembled the zipper, I glued it to my brown leather paper which had been cut out in the middle, where the zipper opens.  I  machine stitched down the two sides of the zipper and also around the edge of the tag.  Next I embossed the two sides with an embossing folder from Sizzix called, Floral &Vines.  This folder has embossing just in the corner, which I really like sometimes, as you can add just a small touch of embossing to a tag, or label.  I lightly sanded the embossed areas and edges, then applied adhesive all around the outer edge.  I then adhered this to my turquoise tag base.


I cut out some of the gears(from the bigz die) in chipboard, then embossed with Ranger's Verdigris embossing powder and then embossed again in a few areas, with Ranger's Antiquities Rust powder.  The other gears were die-cut from the Prima thinlit dies using patterned paper from the Indian Summer collection.  I cut out two for each gear and glued them together, so they were sturdier.  I adhered them to my tag as in the photo, added my ribbon, and pin with small gears.  My tag was complete!

I love gears, and these ones are a little different with the heart cut-outs.  I've also saved all those cute little hearts, they will be good for future projects.

Hope you are having a great weekend,
thanks for stopping by!

Jan


1

It's Almost Halloween...

and I have one more project to show you.  I've been playing with my new Sizzix Pop 'N Cuts base and decided to make a Halloween Card.  Here is the front:
I wanted my card to be a little bigger so I cut a 6 x 6 card base and adhered my Pop 'N Cut card to the inside.
I cut out the Sizzix Movers & Shapers Headstone Diecut  with the magnetic Movers & Shapers mini 31 in the bottom corner, using We R Memory Keepers dark purple paper.  I embossed a spiderweb with Tim Holtz's Halloween Cutouts stamp with clear ink and embossing powder, inked the gravestone with Distress ink, Seedless Preserves, mostly on the outer edges. Fill the "31" with Rock Candy clear crackle paint, let dry and then stain with Rusty Hinge distress stain.  I was ready to adhere my gravestone to the center pop up circle, but because the edge was not a straight edge and my piece was quite large, I adhered a piece of paper to the back.

Now watch my little video, to see the skeleton on my card!

This part is a little confusing, but Karen Burniston explains it perfectly here.  I don't know how she thinks of these things, she's amazing!  Once you figure it out, these are so fun to add to your card.


For my card front, I used Echo Park's Chillingsworth Manor paper.  The gravestones were cut out with Sizzix's On the Edge Graveyard die, then embossed with their Poison texture fade.  I heat embossed it using Ranger's Antiquities Cement embossing powder.  I sanded it a bit after and inked with Vintage Photo Distress ink.  Love this embossing powder, it looks just like stone!  The bats and tree were cut out using my Sizzlit Decorative strip, Halloween Shadows.  I also cut out a banner using my Tattered Banner Sizzlit die and placed it underneath haunted sticker.
Hope you enjoyed my card, and if you have the Pop 'N Cuts die, you have to try the spinner insert!
I did have a few more Halloween projects that I was hoping to get done , but I don't think I'll have the time to start them.  I guess I will be saving those for next year!
Until next time,

Jan
4
Back to Top