Hello friends! I'm sharing a card today featuring a special limited edition Tim Holtz Sizzix die set from Simon Says Stamp , in celebration of their DieCember event. This set is free with a $25.00 minimum purchase of any Tim Holtz product. Check out the Simon Says Stamp YouTube video where Heidi and Tim reveal the die set and his amazing Village Dwelling projects here: https://youtu.be/5jfls2PBq0s
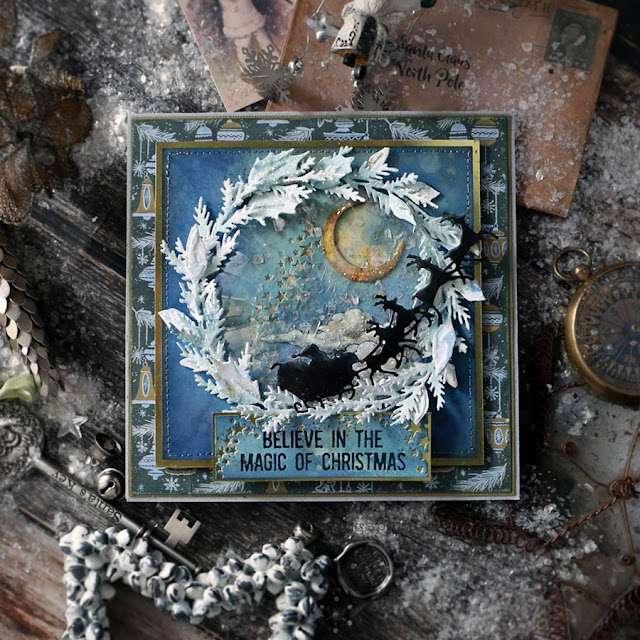
It's hard to tell in my photo, but this is a shaker card!

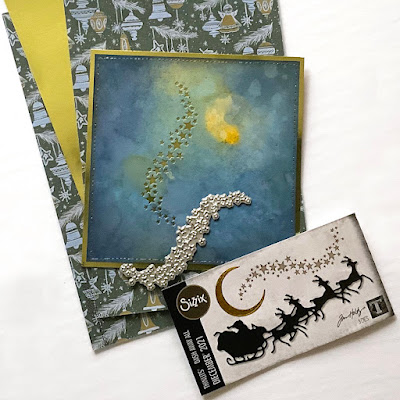
I created a background with Distress Mixed Media Heavystock, Distress Sprays and Oxide Sprays (Faded Jeans, Chipped Sapphire, Speckled Egg, Antique Linen, Scattered Straw and a little bit of Distress Flickering Candle Mica Stain on the moon). The small amount of yellow tones were applied first and where I wanted my moon. The stars were die-cut about center, my background cut to size, then machine stitched around the edge. Gold Kraftstock was cut slightly larger and adhered behind.
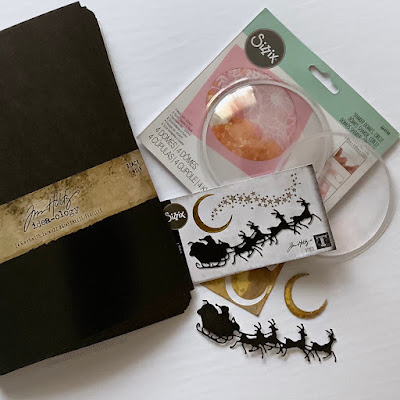
My Santa in the sleigh silhouette was die-cut with black smooth Kraftstock, the moon with a scrap piece of Distress white Heavystock that had yellow tones with a bit of Flickering Candle Mica Stain on it. I used the large 3 1/2"size of the Sizzix Domes(664190). I'm not sure if these have been discontinued, I hope not!
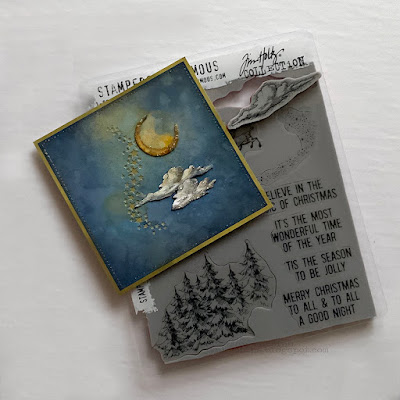
I added in a couple of clouds and my sentiment, stamped with Simon Says Stamp limited edition Tim Holtz Stamptember set.
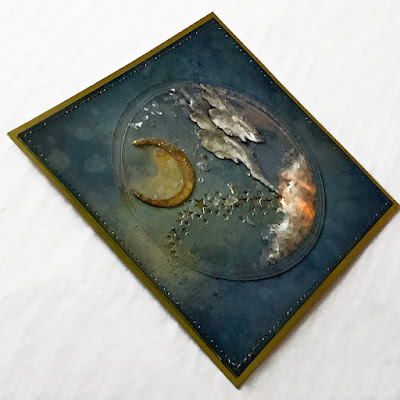
After my moon and clouds were glued down, I added a small amount of Tim Holtz Mica Flakes (TDR69140) in the centre and then adhered the dome over my scene.
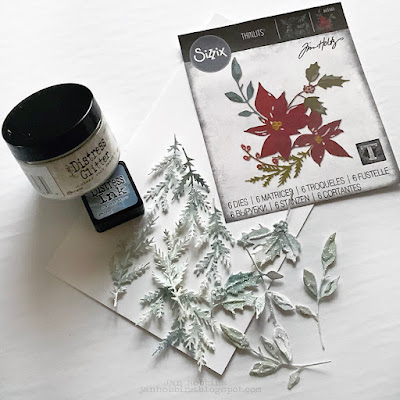
Next I die-cut foliage from the Sizzix Festive Bouquet 665565 in Distress white Heavystock. I added in a very small touch of colour with a wash of Stormy Sky Distress Ink applied with a watercolour brush. After my pieces dried, I applied Distress Clear Rock Candy Glitter with Distress Collage Medium. These pieces were adhered around the outer edge of the dome to form a wreath.

For the finishing touches of my card, I stamped my sentiment on a scrap piece of coloured Heavystock, die-cut the stars again on each end, and backed this on gold cardstock. The silhouette and sentiment were adhered to my card front. This card front was adhered with foam adhesive squares to patterned paper (Christmas 2020 Worn Wallpaper) and then my cardstock base.
If you are interested in this free gift, I wouldn't wait too long, as there are limited quantities!
Hope this inspires you in your card making!
Thanks so much for visiting!
Until next time,
Jan


3 comments
Superbe réalisation bravo
Gorgeous!!!!
Just breathtaking Jan!!!! Well done!!!!
Post a Comment